Step 1: Double click the downloaded Exe for installation

Step 2: Configure the hosting port and check for availability

Step 3: Proceed Next for installation and wait for installation to get completed,

Step 4: Now launch the application via browser, http://localhost:8001/

Step 5: Choose Next for license agreement and then choose instance. This specifies new or upgrade of existing instance,

Step 6: Configure Cryptography key that used for encrypt and decrypt

Step 7: To generate the license key, register to Codebeamer website and request for license. This will have validity for 30 days and you could evaluate the same. If you have login already then you could make use of the same to connect.

Step 8: Now choose the Database type. MySQL will be enabled only if its installed and running

Step 9: Feed the username “cbadmin” and corresponding password and validate the connection,

Step 10: Next configure the administrator account, Repositories and Mail Server
Step 11: Now you will get the successful message. You are ready to use Codebeamer now.

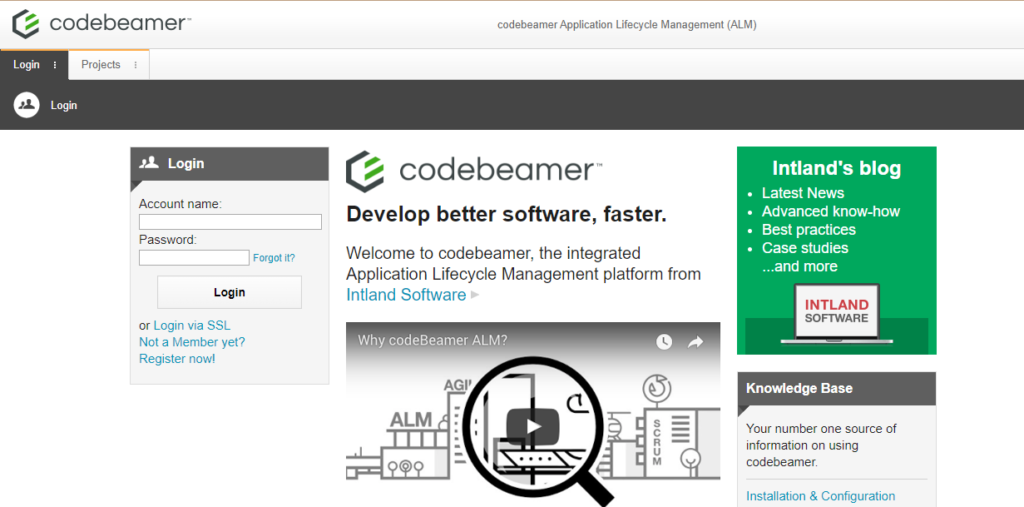
Step 12: Now launch http://localhost:8001/ or corresponding hostname to view the login screen,

![]()
Views: 68