Table of Contents
show
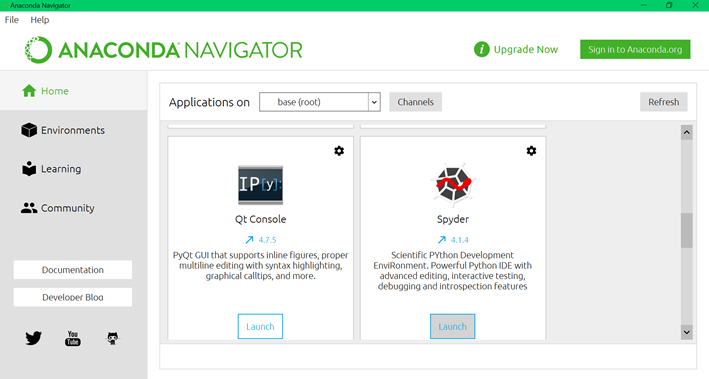
You could follow the below steps to launch Spyder,
Step 1: Launching Spyder
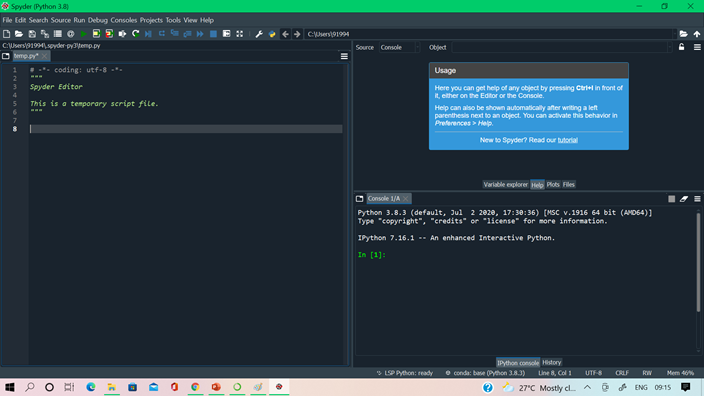
Step 2: Front Screen
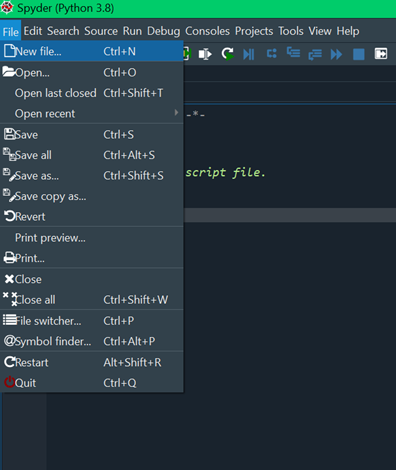
Step 3: Creating new file
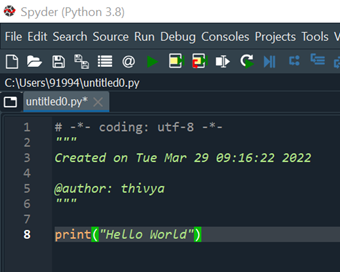
Step 4: Default file name as “untitled”
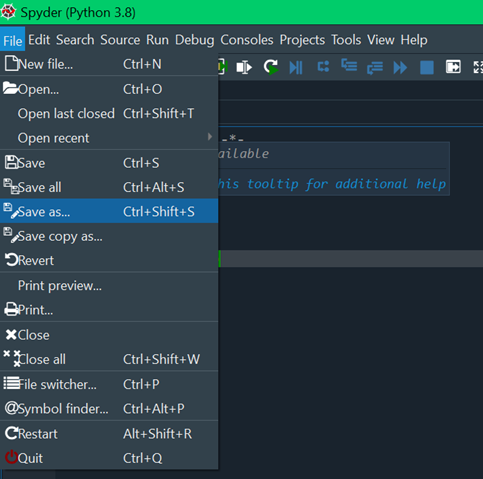
Step 5: Saving the file
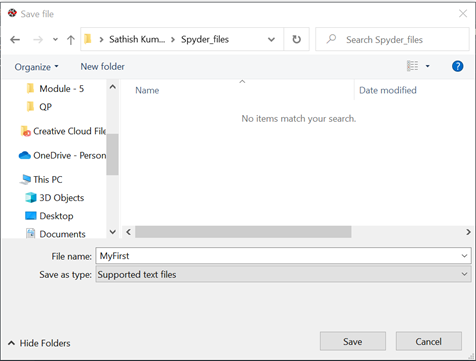
Step 6: Specify the location to save
Step 7: Executing the script
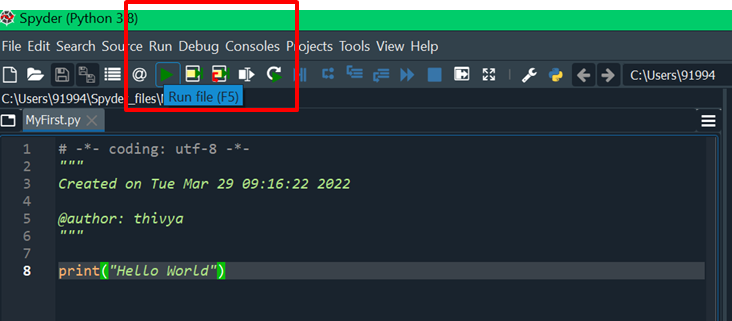
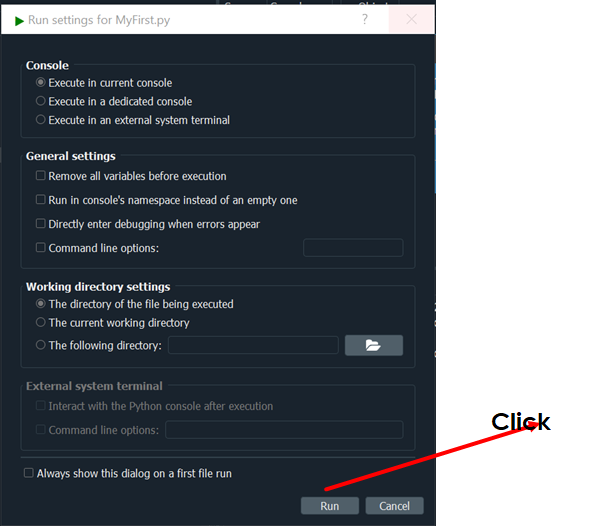
Step 8: Run the file
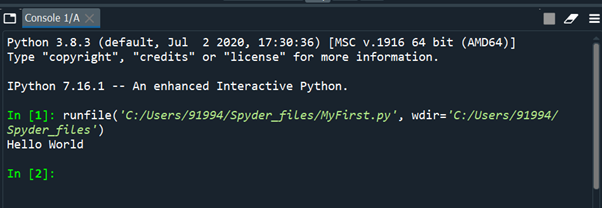
Step 9: Output displayed
Views: 2